
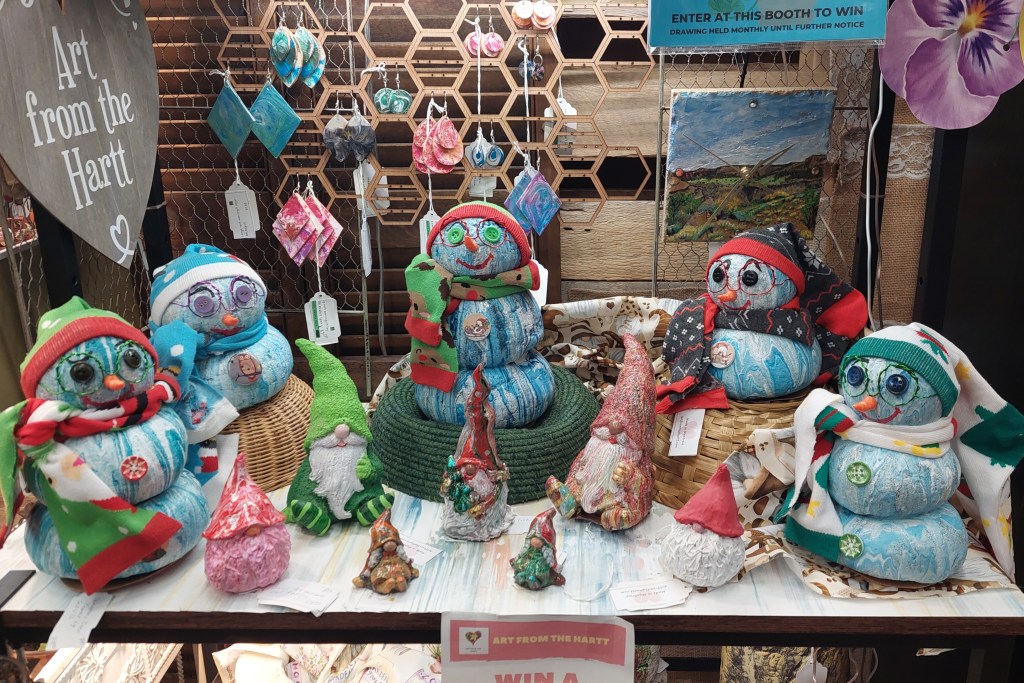
I have had so much fun making – or should I say re-making – my hypertufa pumpkins. They turned out so colorful. I made one batch a week or two ago and they are now available at Country Flair in downtown Montrose or at my Etsy shop. And, they are 20% off!
How To Make Hypertufa Pumpkins!
The story began last summer when I blended my Portland cement, sphagnum moss and vermiculite into a muddy mix. Not too thin, not too thick. Something like thick mud. They then went into my Leggs knee-highs!
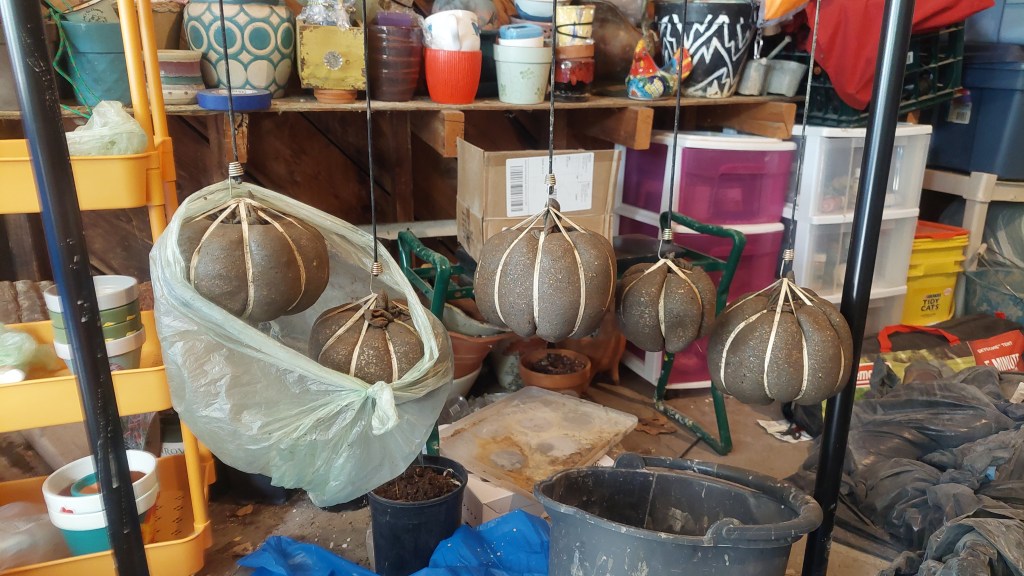
As soon as they had their big pumpkin hose on, they were harnessed in rubber bands to give them a pumpkin shape. With the planters, I placed a small pot in the hose after scooping the hypertufa mix in – then I worked the pot down so that the mix came up around the sides. That was before they got rubber banded.


They were hung to dry. The next day, they kicked off the Leggs (well, I took the hose off), drilled, stemmed, and allowed to cure for a few weeks. The stems are fallen limbs from my own yard that have been sealed – I drill a hole in the top and secure the wood with more hypertufa.

Pour Painting the Poor Pumpkins
Fast forward one year – I have leftovers and love to use my fluid art skills on 3-D crafts that I handmake. So, a couple weeks ago, I rounded up the pumpkins and started pouring paint.
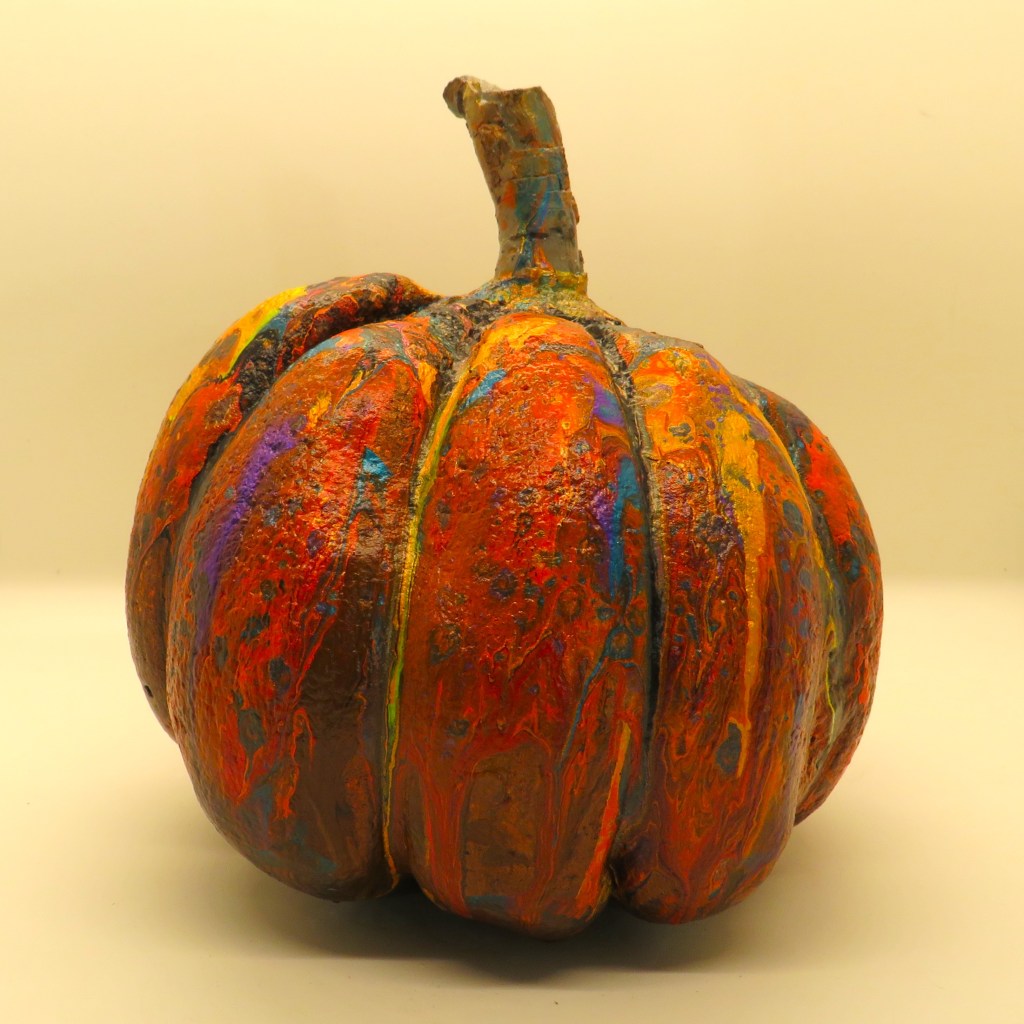
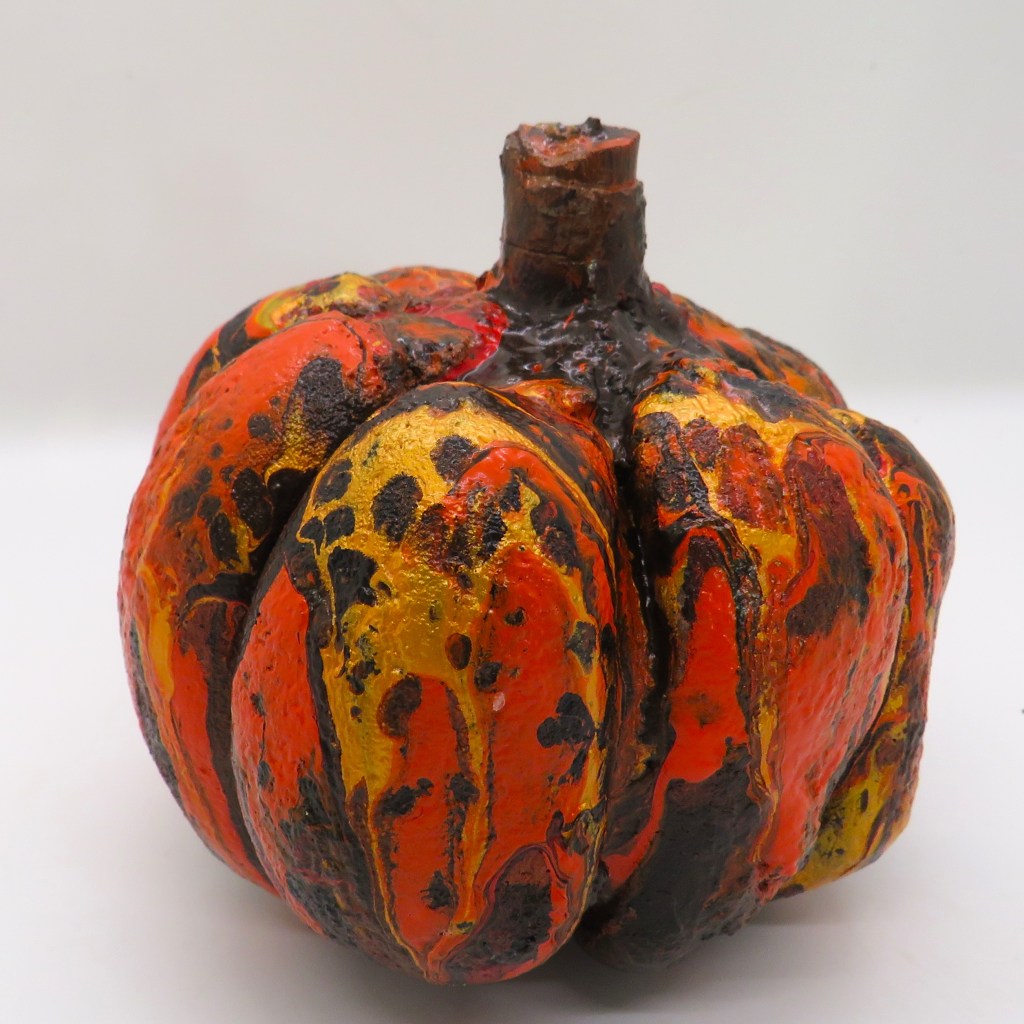
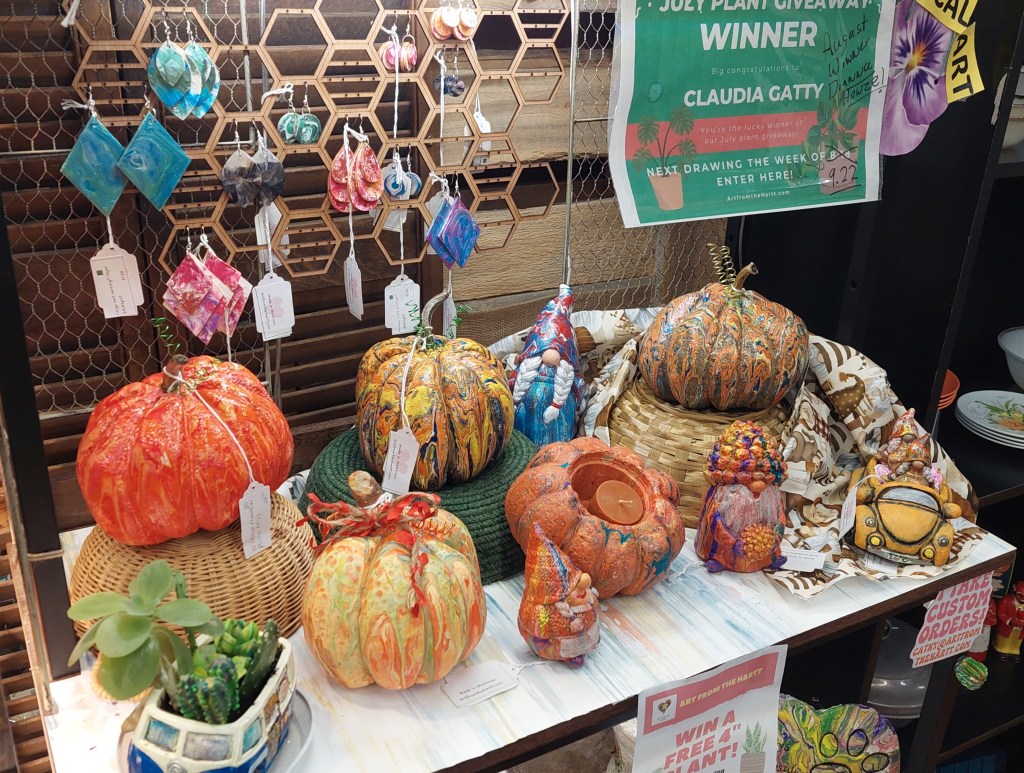
For this particular project, I used premixed paint in mostly fall colors. Some pumpkins have black or white. I enjoyed using purple, turquoise, teal, green, yellow, etc. for highlights. I mixed 3-6 drops of hair oil per color (I find cement requires more oil to form cells.) With 3-D objects, it is just harder to get cells because they slip slide away. But, the pumpkin tops get some nice cells going.

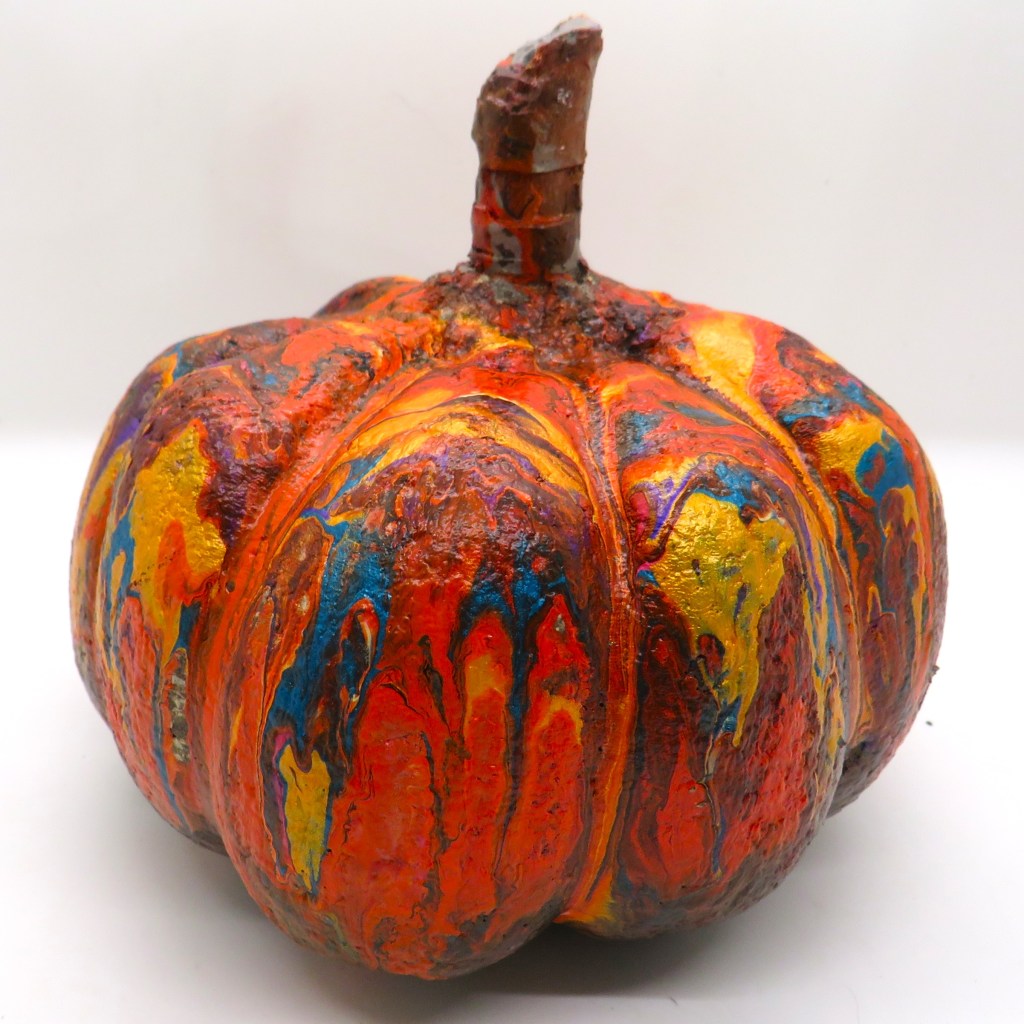
I use mostly a layered cup, but I find orange can be pretty dominant, so I sometimes go back and use a little more of my highlight colors. I think my favorite combo is the purple and turquoise with the orange.


I let the paint cure for a week or more, then finish with semi gloss craft varnish.

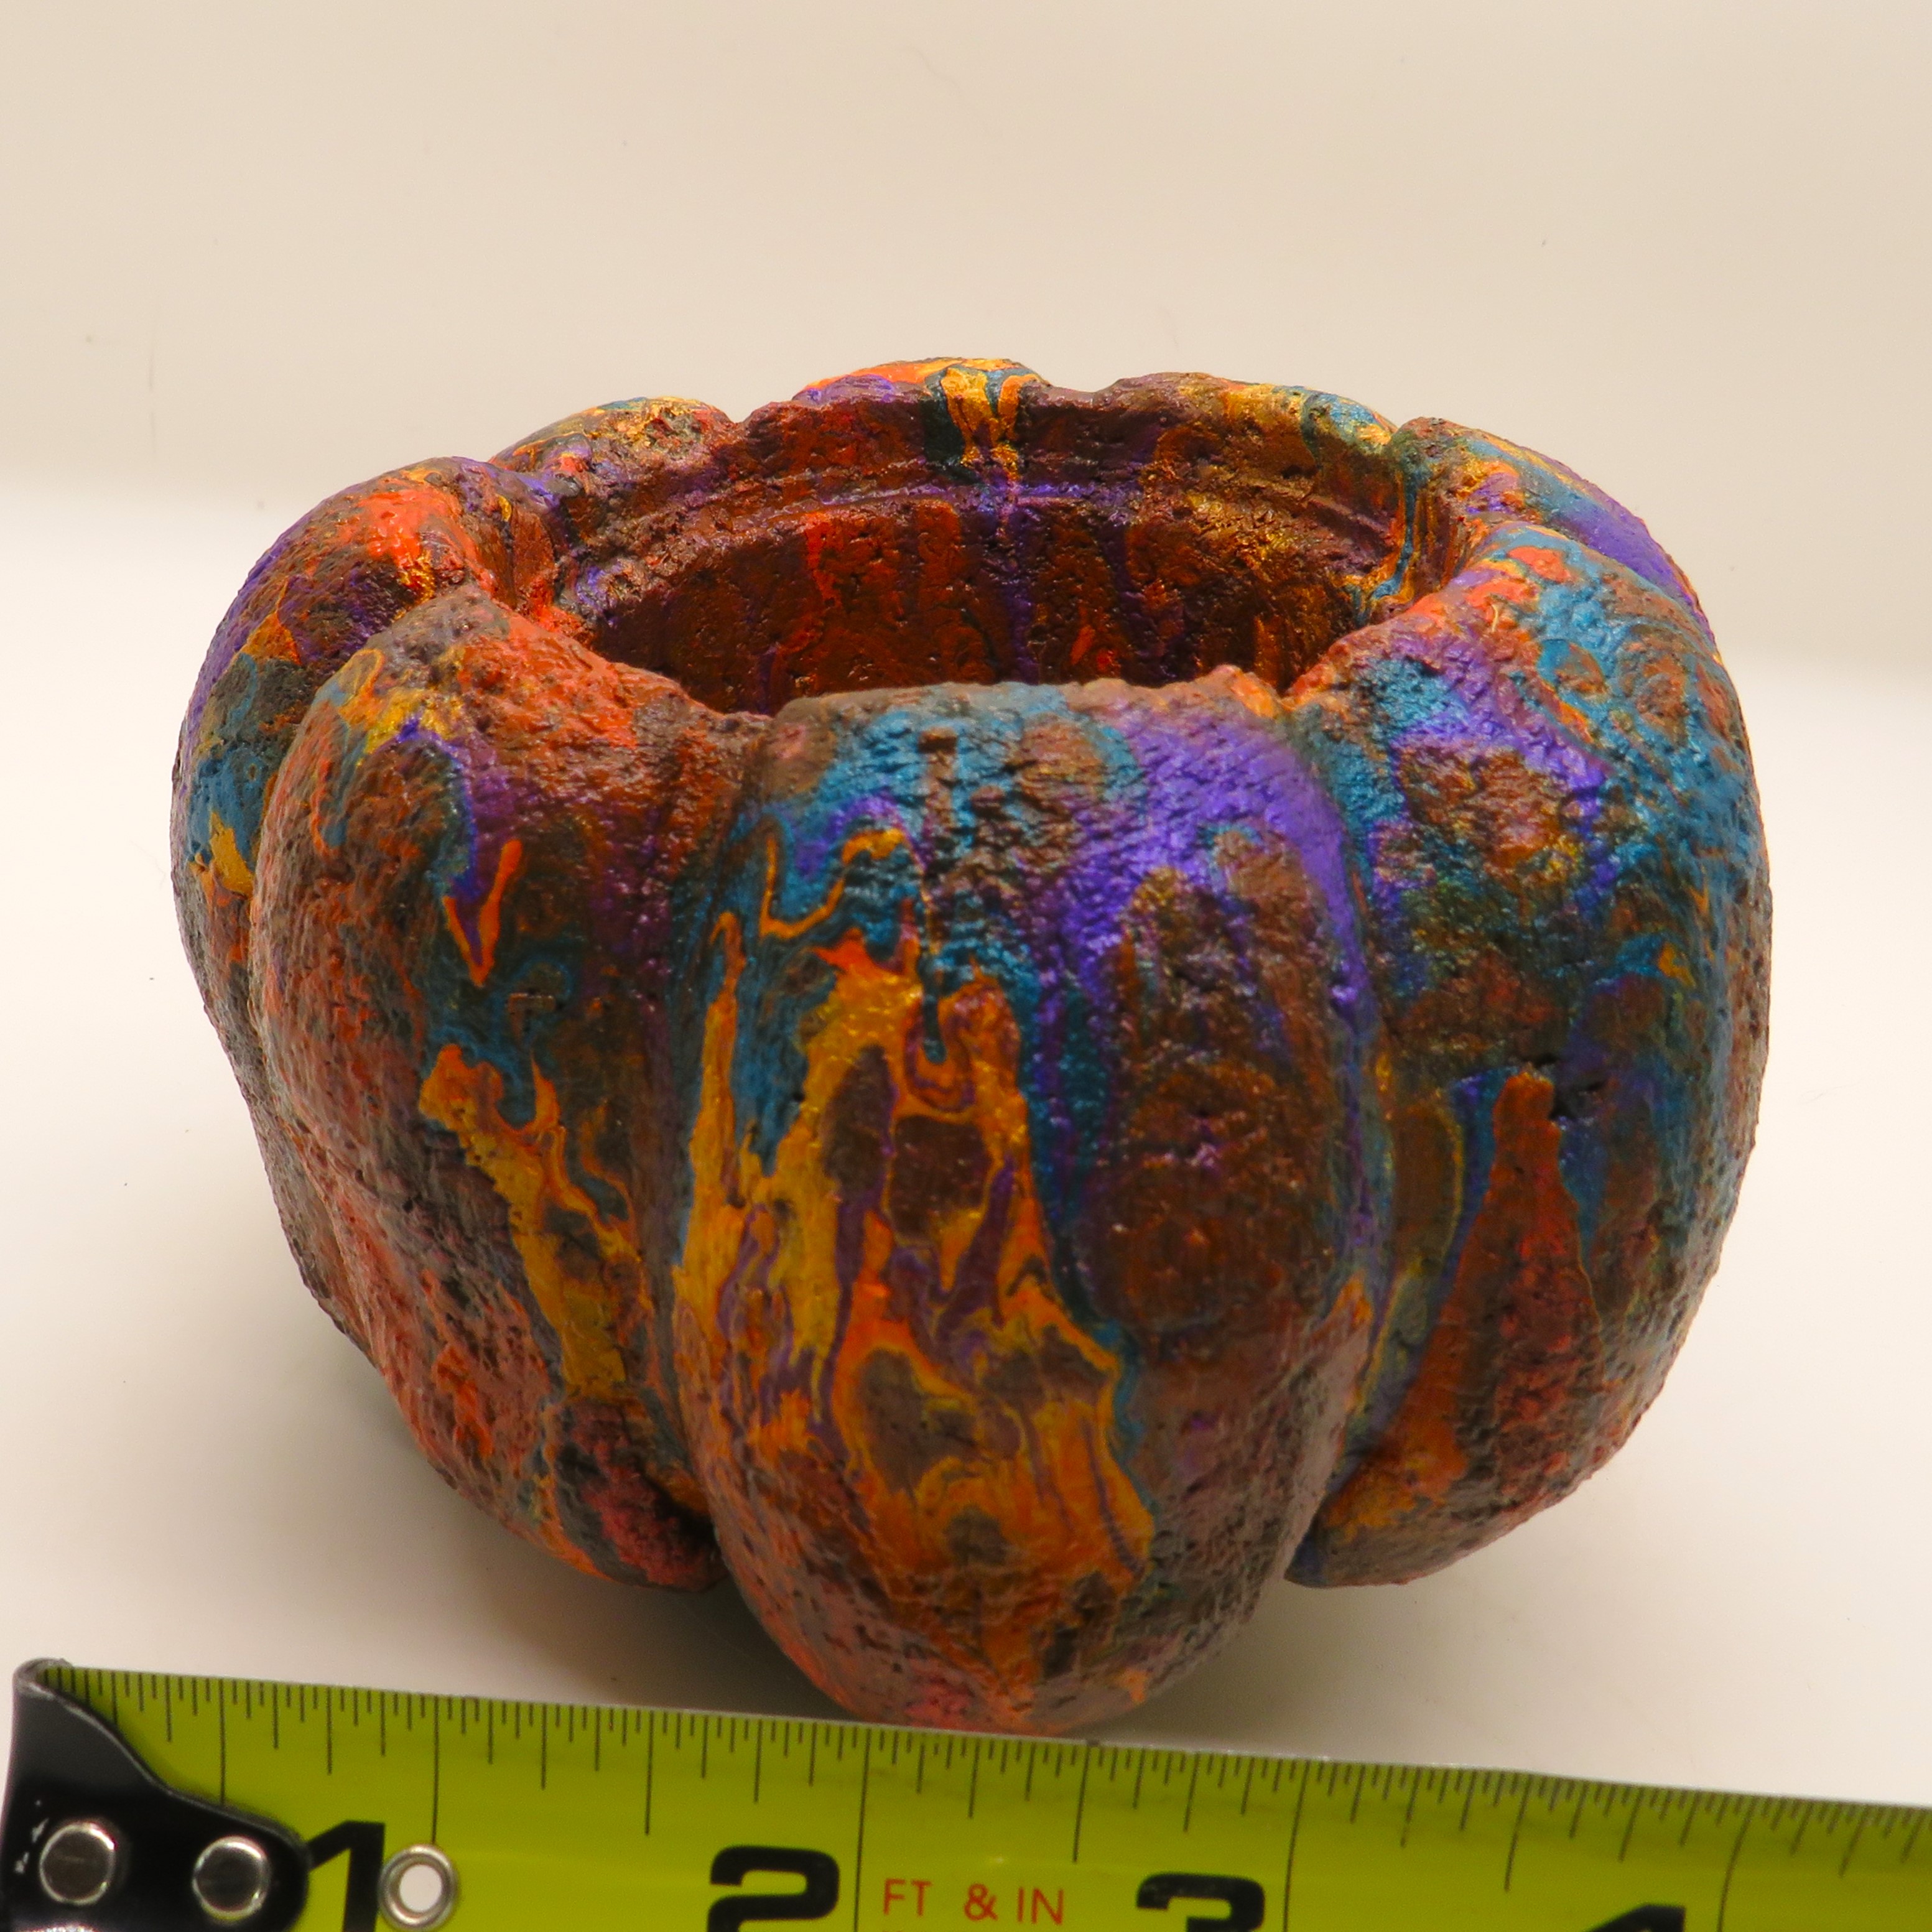

The nice thing about hypertufa is that it acts like stone so these are durable year after year. They can also be used in the yard but I recommend against freeze/thaw exposure. How cute would these look on a step for Halloween or on the Thanksgiving table as a centerpiece?
Etsy Listings
- Large Decor
- Large Planter – coming soon
- Medium Decor
- Medium Planter
- Small Decor
- Small Planter
Don’t see the one you want listed on Etsy or at Country Flair? – please email me!


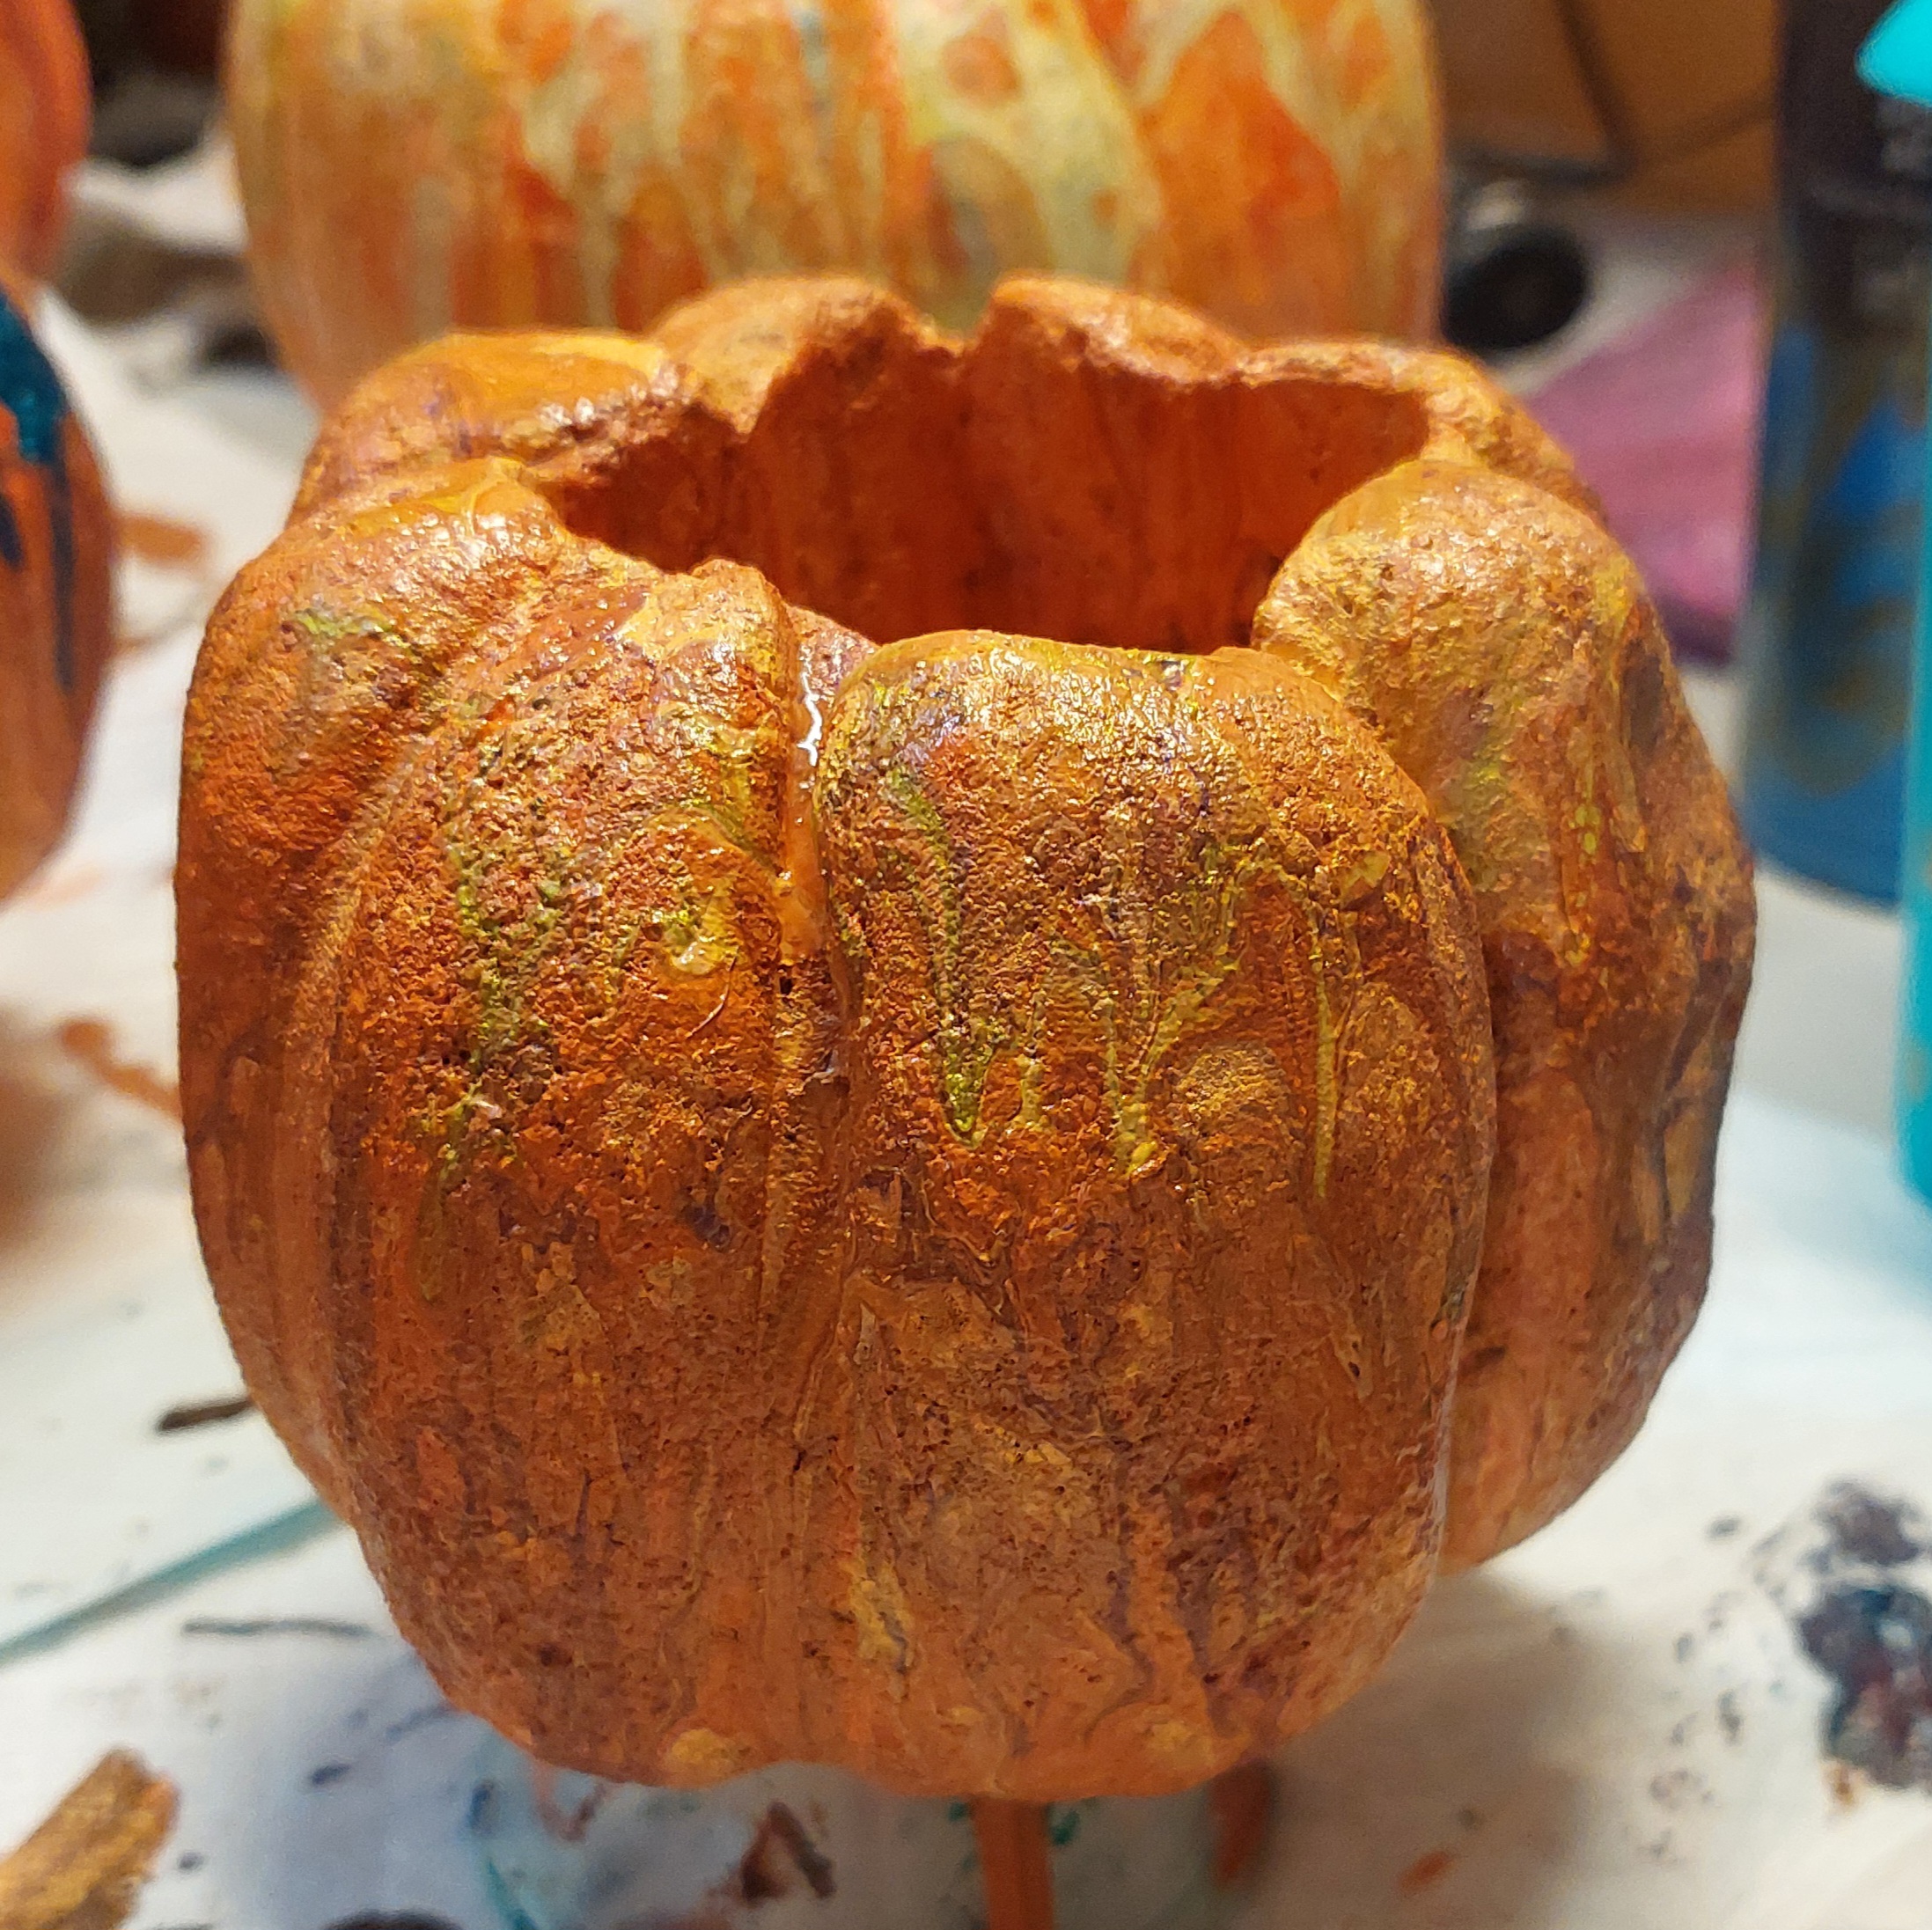


These are the ones I finished today! Forgive my in-process photos, but do enjoy the Instagram process reels below!
Have you ever made hypertufa, cement, or acrylic pour pumpkins? Please leave a comment with your experience! I also welcome questions and comments on process.


Leave a comment